After 25 years in the roofing business with most of the years actually performing the work installing and maintaining gutters in the northeast USA, I will share some tidbits of information to try to help people with gutter guard repair. If you are not afraid of working from a ladder and you can clean your own gutter, and you have some DIY repair skills and tools, then you should not have too much trouble performing your own gutter guard repair. On the other hand, if you do not mind working from a ladder and you are fine cleaning your own gutters, but you really do not have much DIY skill and you hate the thought of using a screw gun from a ladder, then visit here to see a very easy DIY gutter solution. If you have some skill and courage, you can perform your own leaf guard repair and I will share some insights and gutter guard repair techniques.
I will share some repair techniques, tools, and fastener insights to help with
- Gutter Guard repair
- Gutter screen repair
- Gutter Cover or Gutter helmet style repair
- Gutter Mesh Repair
- Leaf guard repair
There are various reasons that a gutter guard or a leaf guard might require a repair.

You will have to determine how much work, time and materials will need to be invested in your gutter guard repair to determine if it is worth the effort, or if you are better off just throwing in the towel. Sometimes, starting over with a new solution is easier than repairing the old. Gutter guards and leaf guards often need repair for the following reasons.
- Someone leaned a ladder on my gutter cover helmet making ugly dents
- Gutter guard damage from a hailstorm
- Gutter damage from a tree limb falling.
- A roofer or other worker damaged my gutter guard.
- Gutter Guard is filled with debris.
- Gutter Protection is packed with a bird’s nest
- Gutter screen collapsed naturally from being too flimsy.
- Bee hives and Wasps fill the dry shelter of the gutter cover.
- Gutter screen deteriorated from the sun and weather.
- Gutter guard naturally sends the water past the gutter, it’s just not working.
- Gutter guard pieces missing, they blew off in the wind.

Below we will review some of the repair techniques such as
- Gutter Guard drilling and riveting
- Removing gutter guard rivets
- Gutter screen support
- Gutter Guard Sheet Metal Removal, without roof damage.
- Gutter Guard Screws
Before you begin your gutter guard repair, you will need to assemble your gutter guard tools and materials. Those items might include.
- Ladder, and a helper if the gutter is high
- Sheet metal, screen or gutter guard repair material of the correct color
- Screw gun and drill that accepts drill bits
- Utility knife
- Sheet metal shears and/or left and right snips
- 1/8 inch metal drill bit
- Rivet gun and rivets
- Zip screws
Gutter Guard repair, Is it worth it?
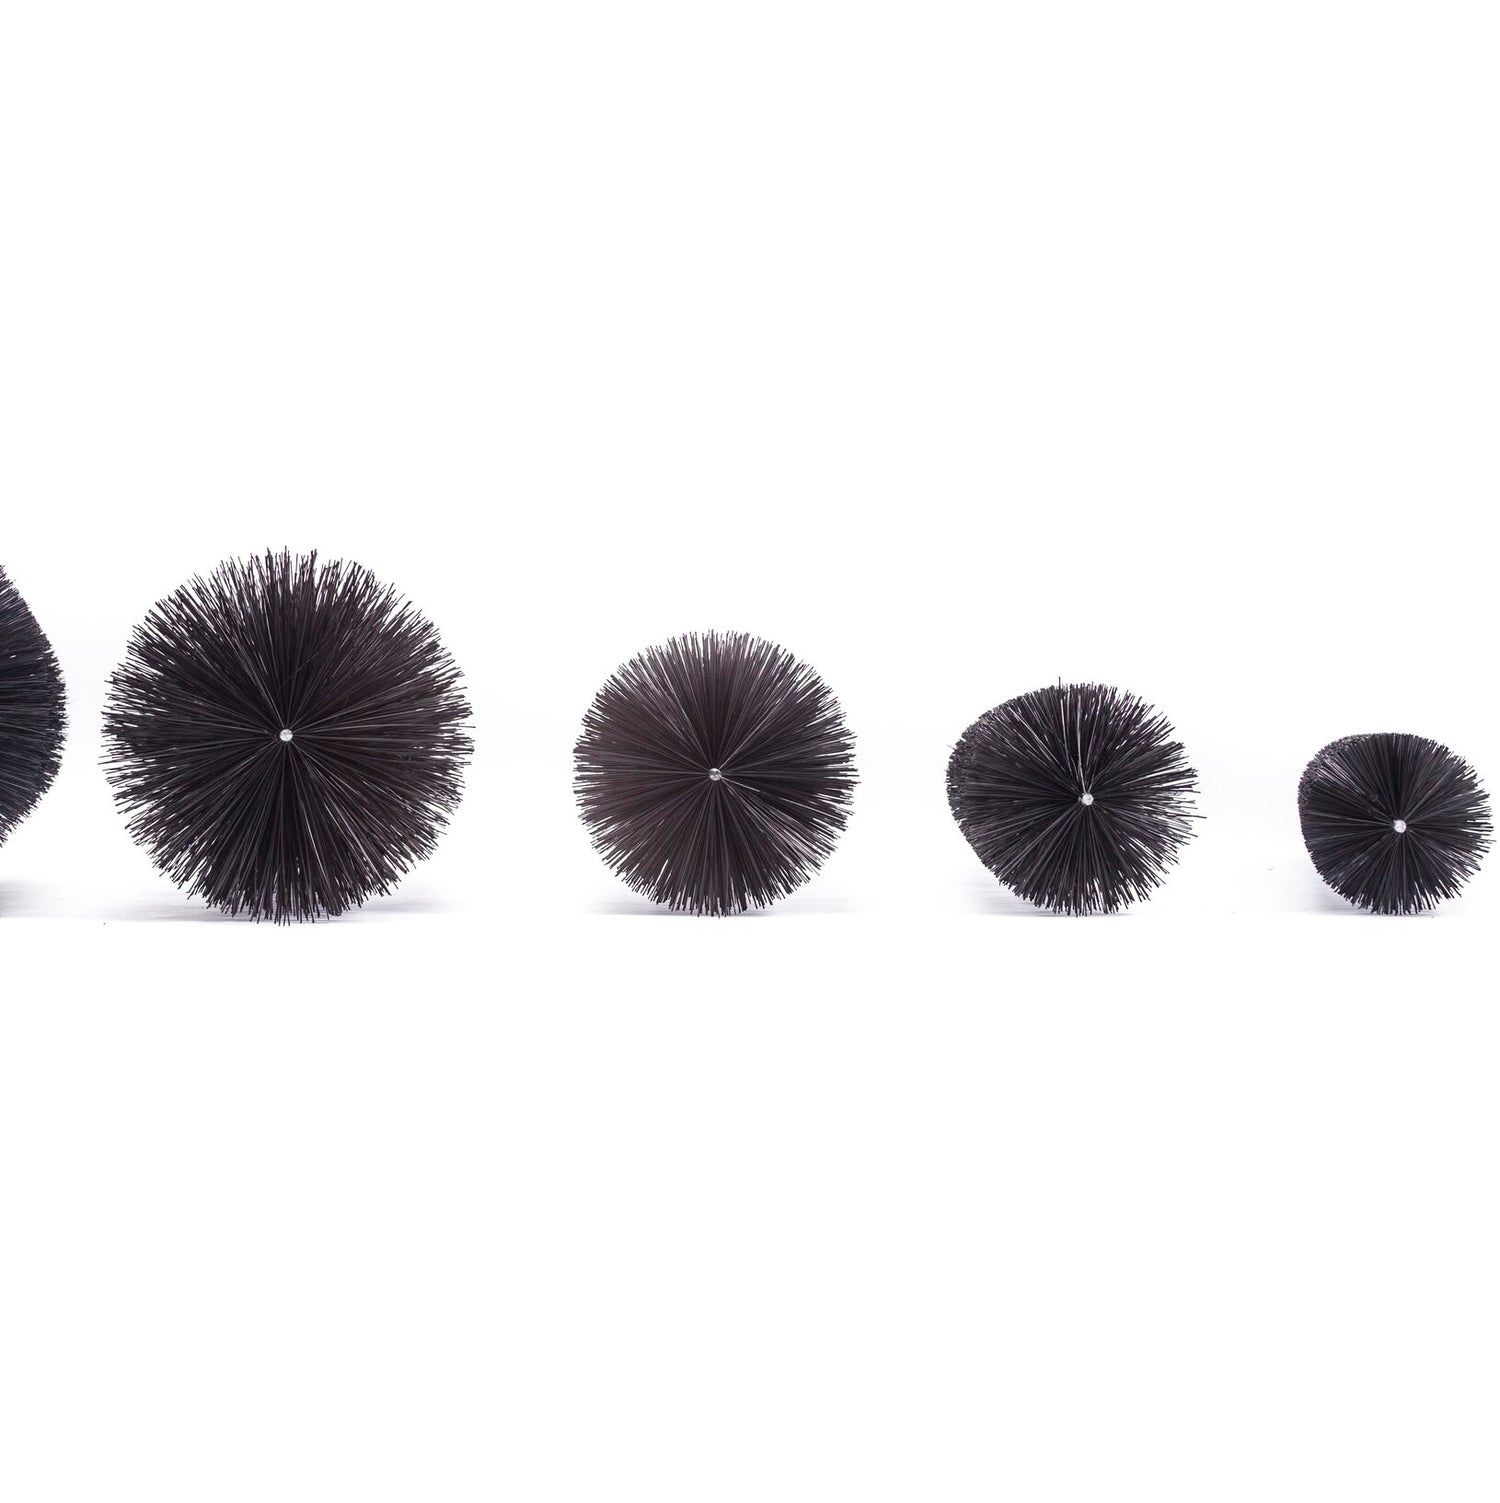
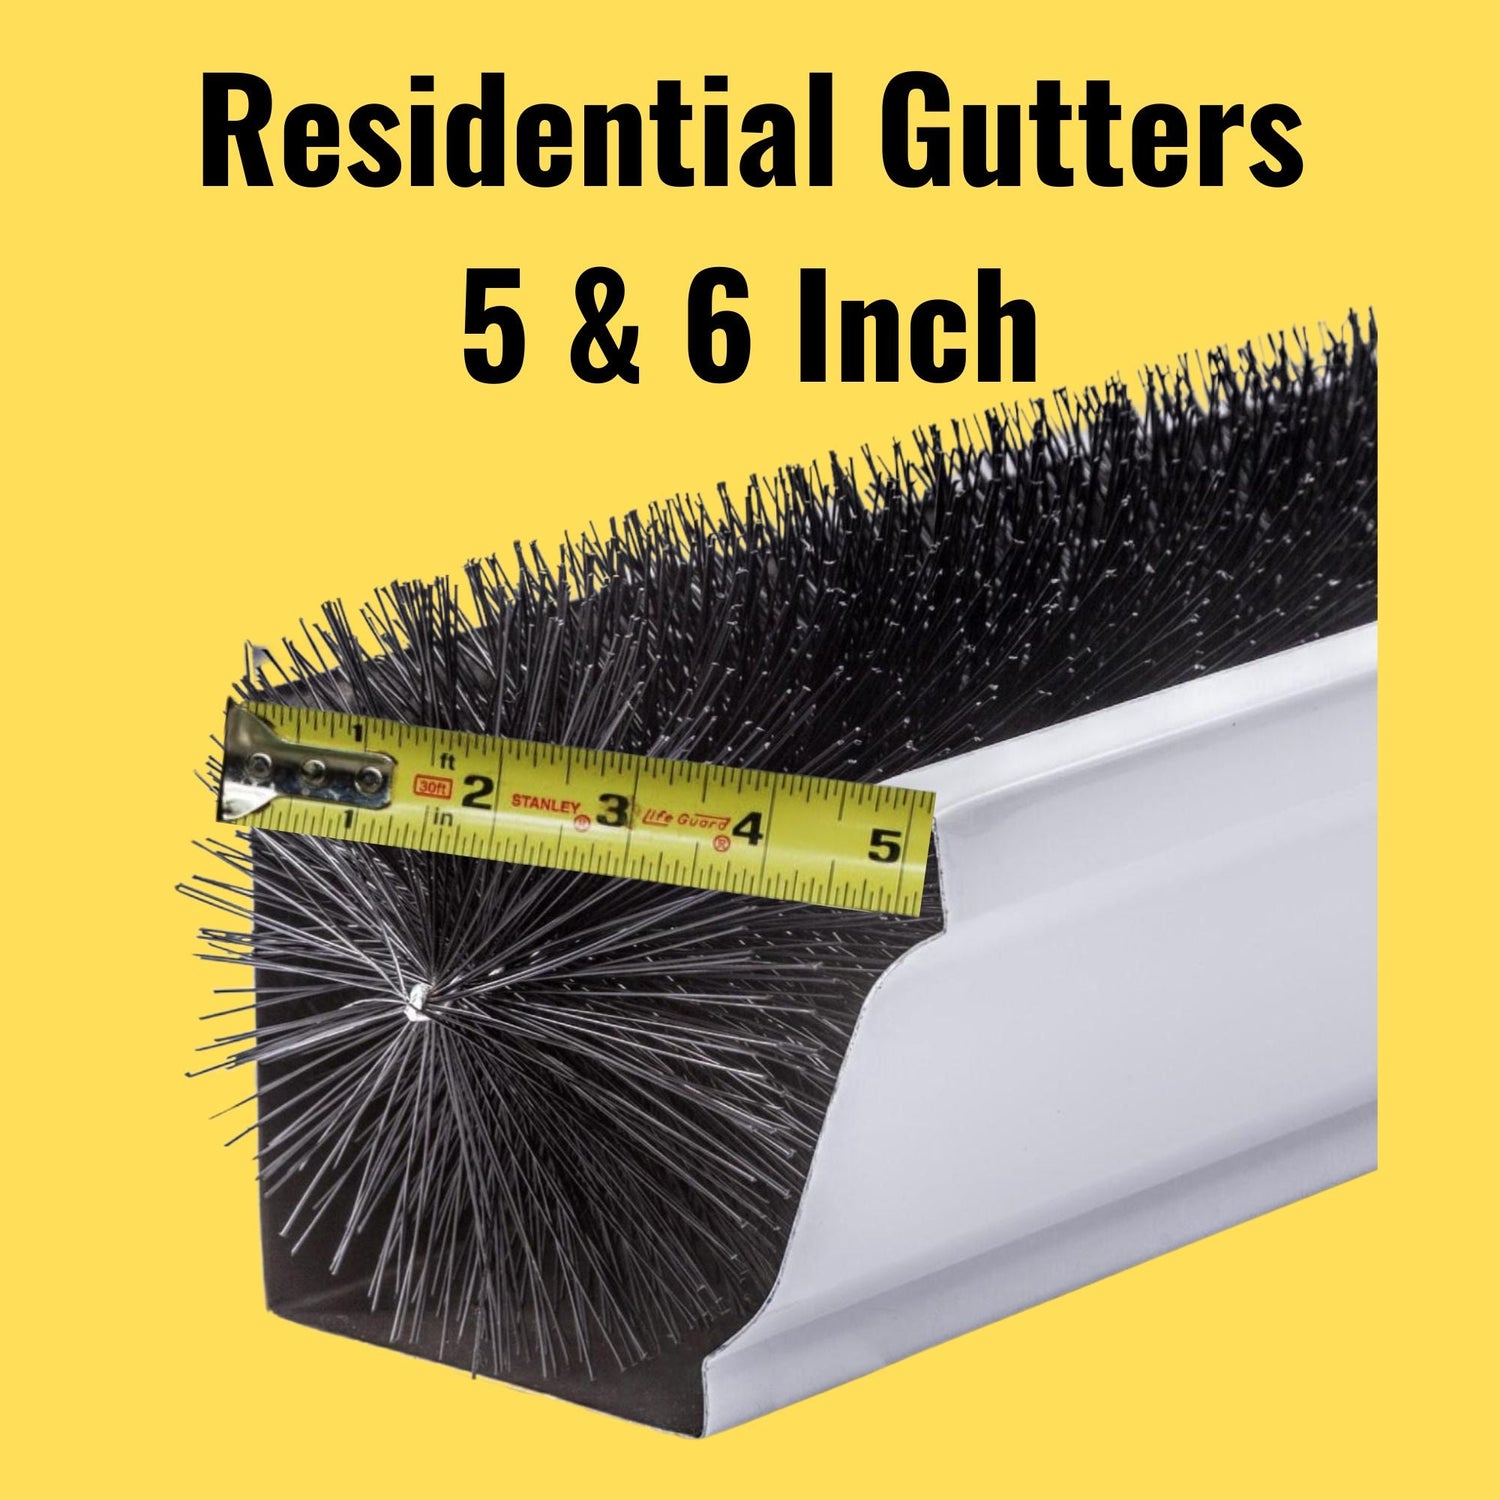
Read the rest of this article and give your gutter protection’s condition a good deal of thought. Envision the gutter guard repair materials and the gutter guard tools. If you can envision the project flowing smoothly, then continue, however if it seems like the gutter guard is too damaged to be repaired, or it is just too much repair work, then consider a very easy solution. Compare the amount of leaf guard repair required, with the simple fact that you can just fill your gutters with GutterBrush, and you are done! Yes, there is a gutter guard solution that is fast, easy, and it will not break the bank so click to visit this page and after seeing how easy a gutter guard can be to install, decide whether it is worth performing your gutter guard repair. Modern ingenious gutter accessory self-fitting long lasting products made right here in the USA might make it less necessary to repair your gutter guard damage.
Gutter Guard Repair Materials, Fasteners, Sheet Metal, Screen

Purchase your gutter guard repair material ahead of time. Try to get pieces of the exact same gutter guard material or at least get a material that matches your gutter leaf guard, screen or cover as closely as possible. Sheet metal is available in all of the common gutter colors and of course the ever popular white. Purchase that aluminum that is pre-painted and thin enough so you can bend it and form it into the shape of your gutter guard or the shape that you need. .032 aluminum is thick roofing flashing and not very easy to bend or form, so you will want an aluminum sheet metal that is thinner; .024 and .018 are commonly available thicknesses that are easy to work with. If you are purchasing sheet copper, you will want to purchase 16-ounce copper or better yet 12 ounce copper is even easier to work with. Even better is “soft” copper, which is very malleable. If you are repairing a gutter screen or gutter mesh, do your best to find a similar screen or matching gutter mesh material made of similar metal and having similar gutter screen aperture characteristics.
Gutter Guard Removal
In construction, when performing gutter guard removals or any removal, you will want to envision the order that the installer installed the gutter guard, and work in the opposite order of operations, taking apart or removing the last item installed, first. This technique helps you access the fasteners and with each item removed you will expose the next set or row of fasteners.
Gutter Covers or Gutter Guards that Go Under the shingles
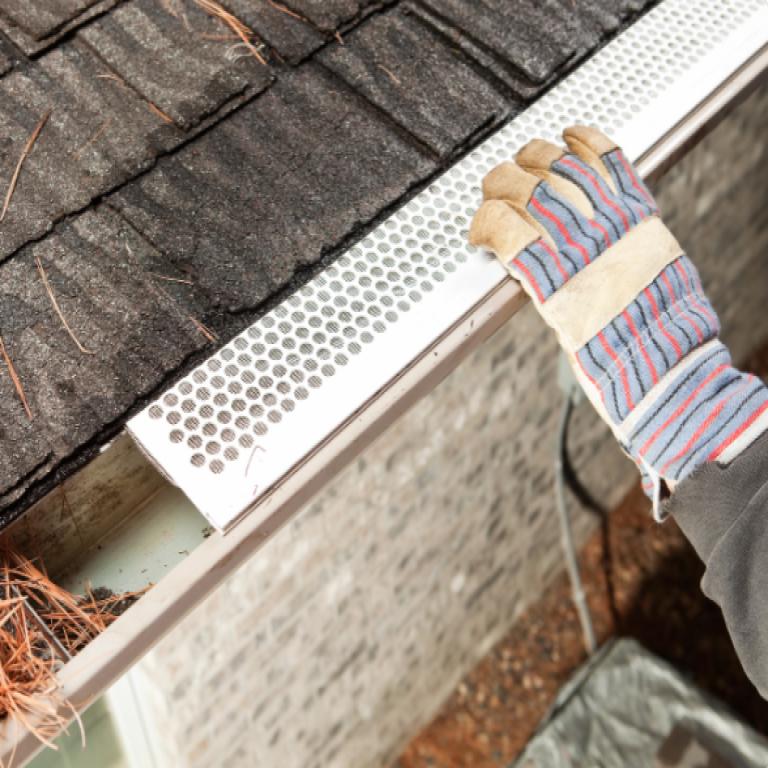
When removing a section or piece of a gutter guard that extends under the first row of shingles, I generally recommend not touching the roof shingles at all. It is not worth the trouble of disturbing even just one roof shingle because you could cause a leak. Instead, try cutting the damaged gutter guard out with a utility knife. Most gutter guard material is aluminum, and the aluminum is usually very thin and soft. Be careful not to cut all the way through the gutter guard sheet metal into the roof, use a straight edge and score the metal running the knife over it multiple times. You will see that a sharp utility knife blade will easily cut the metal. I like to go most of the way through the metal but stop short of going all the way through so that you do not damage the roof. Once the blade has cut most of the way through, you can usually begin bending the metal back and forth until it separates and can be entirely removed. I also bring a separate piece of sheet metal with me to slide under the cut to protect the roof from an errant knife cut. Tin knocker shears such as Wiss shears can be acquired to cut straight, left or right. Sometimes, left or right-handed shears are necessary to make a cut from a certain position. A chisel can also be effective at cutting a gutter guard away. If you have a gutter cover and you decide you no longer want it, the entire gutter cover can be cut away from the shingles using the above technique and leaving the roof intact and undamaged while providing 100 percent access to your gutters once again. People often remove the entire cover when they learn of the danger up on the ladder because the cover provides dry shelter that wasps and bees love. Ladder work is dangerous enough without the psychological burden of wondering if bees or wasps have infested that beautiful dry shelter. The fear of bees attacking while you are up on the ladder, is a little like swimming in the deep ocean and the effect of just thinking about a shark; it is horrifying to just think about.

Gutter Guard Repair, Joining Sheet Metal or Mesh
Once you have designed your repair and performed your removals, you are ready to cut your gutter guard patch material, form it to the necessary shape, and join or splice it in. Joining or splicing is generally performed by overlapping the gutter guard repair material with the existing gutter guard and installing fasteners such as pop rivets or zip screws.
Gutter Guard connecting with rivets or screws.
The process of riveting sounds difficult, but due to the availability of sheet metal pop rivets, riveting is very easy. Riveting combines the strength of a fastener with the convenience that there is no fastener sharp end to extend all the way through, instead a rivet is a more desirable smooth surface on the inner side of the sheet metal. In order to join two pieces of gutter guard, perform the following.
- Overlap the sheet metal ends at least ½”
- Drill through both pieces of gutter guard sheet metal
- Insert a pop rivet into your pop rivet tool or gun
- Press the rivet through the 1/8” hole entirely.
- Pull the handle of the pop rivet tool, so the outer rivet flares and pops securely.
Zip Screw Attachment. You can connect two pieces of sheet metal together using screws instead of rivets. Rivets are great because there is no sharp screw point extending through the other side of the gutter guard. Zip screws are coarse threaded screws that also can be used to attach two pieces of sheet metal together. Zip screws are easy to use, they fit into a hex screw gun bit and are very easy to drive without pre-drilling. Zip screws are very short so that they can fasten the metal together, but they do not extend deep through the metal.
Gutter Guard Screen and Mesh Collapse
When a gutter guard screen collapses down into the gutter, often it is too much work to repair it because it is usually very malformed, and its memory wants to keep the malformed shape. Sometimes you can attempt to bend the gutter screen back into the desired humped shape, but it just will not stay the way you want it, so you just have to throw it away and start over. Most gutter screens are very flimsy, so they collapse under the weight of wet leaves or snow and ice. Although they never are, they are supposed to be installed with ribbed supports spaced every 18 inches to keep them in the proper "crowned" or humped form, however most gutter guard installers usually just install the screen without the ribbed supports, and the screen collapses. If your screen is just a mess, you might just need to remove it, throw it away, and shop for an easier gutter screen solution.
Gutter Guard Screen and Mesh Attachment
You can connect your repair gutter guard screen or mesh with your existing gutter screen or mesh by lapping the two items at least a half inch, and stitching them together with wire. Non Corrosive aluminum or copper wire is available and you can stitch the items together similar to sewing two fabrics.
Gutter Guard Repair, Dis-assembly and Reassembly.
If your gutter guard or gutter cover has been filled with leaves and debris, or inhabited by wasps, bees or a bird’s nests, you will want to take it apart in the opposite order that it was installed by removing the last item installed, first. If items are riveted, you can easily remove rivets by drilling the rivet out with a 1/8” sheet metal drill bit. Just drill straight down through the center of the pop rivet, to remove the rivet and separate the sheet metal pieces. Take the entire gutter guard apart, clean the gutter, and reinstall the gutter guard being careful not to make any new holes in the gutter or roof that could leak. If all of this removal and re-installation seems too much, then you could just remove the entire gutter guard and leave the gutter guard removed, with your gutter remaining unprotected. You can easily protect the gutter at some point by filling the gutter with 3-foot lengths of GutterBrush to keep it from clogging and to keep gutter leaves and debris from entering the downspouts and clogging the buried in-ground storm drain pipes.
The folks at www.gutterbrush.com have years of gutter and gutter guard experience. As part of any solid company’s good will, they love to “give back” and can spread the goodness and help you by sharing leaf guard repair ideas as well as simple clever techniques to help cut down on gutter maintenance. Call 888-397-9433 or email info@gutterbrush.com. If you do not reach them, just leave a voice message and they will respond; they are in Rhode Island which is eastern standard time.


