
Installing gutter guards is a practical solution to keep your gutters free from debris and ensure proper water flow. Whether you’re a DIY enthusiast or simply looking to save some money on professional installation, knowing how to put gutter guards on your gutters can be a valuable skill. This step-by-step guide will walk you through the procesFs, from selecting the right type of gutter guard to completing the installation. By the end, you’ll be equipped with the knowledge to protect your gutters and maintain your home more efficiently.
Why Install Gutter Guards?

Before diving into the installation process, it’s important to understand the benefits of gutter guards. These protective devices:
- Prevent Debris Build-Up: Gutter guards keep leaves, twigs, and other debris from clogging your gutters, reducing clogs and the need for frequent cleaning.
- Maintain Water Flow: By preventing blockages, gutter guards ensure that rainwater flows smoothly through your gutters and downspouts, protecting your home from water damage.
- Extend Gutter Lifespan: Keeping debris out of the gutter flow reduces rust and corrosion, prolonging the life of your gutter system.
- Reduce Maintenance: Gutter guards minimize the amount of maintenance required, saving you time and effort.
Now that you know why gutter guards are beneficial, let’s get started on how to put gutter guards on.
Step 1: Choose the Right Gutter Guards
There are several types of gutter guards available, each with its own advantages. The most common types include:
- Mesh Gutter Guards: Made from metal sheets with tiny holes, they allow water to pass through while blocking debris.
- Screen Gutter Guards: Similar to mesh guards but with larger openings, they are effective for keeping out larger debris.
- Reverse Curve Gutter Guards: Designed to direct water over a curved surface and into the gutter while debris slides off.
- Foam Gutter Guards: Placed inside the gutter, they allow water to filter through the open cell foam while blocking debris.
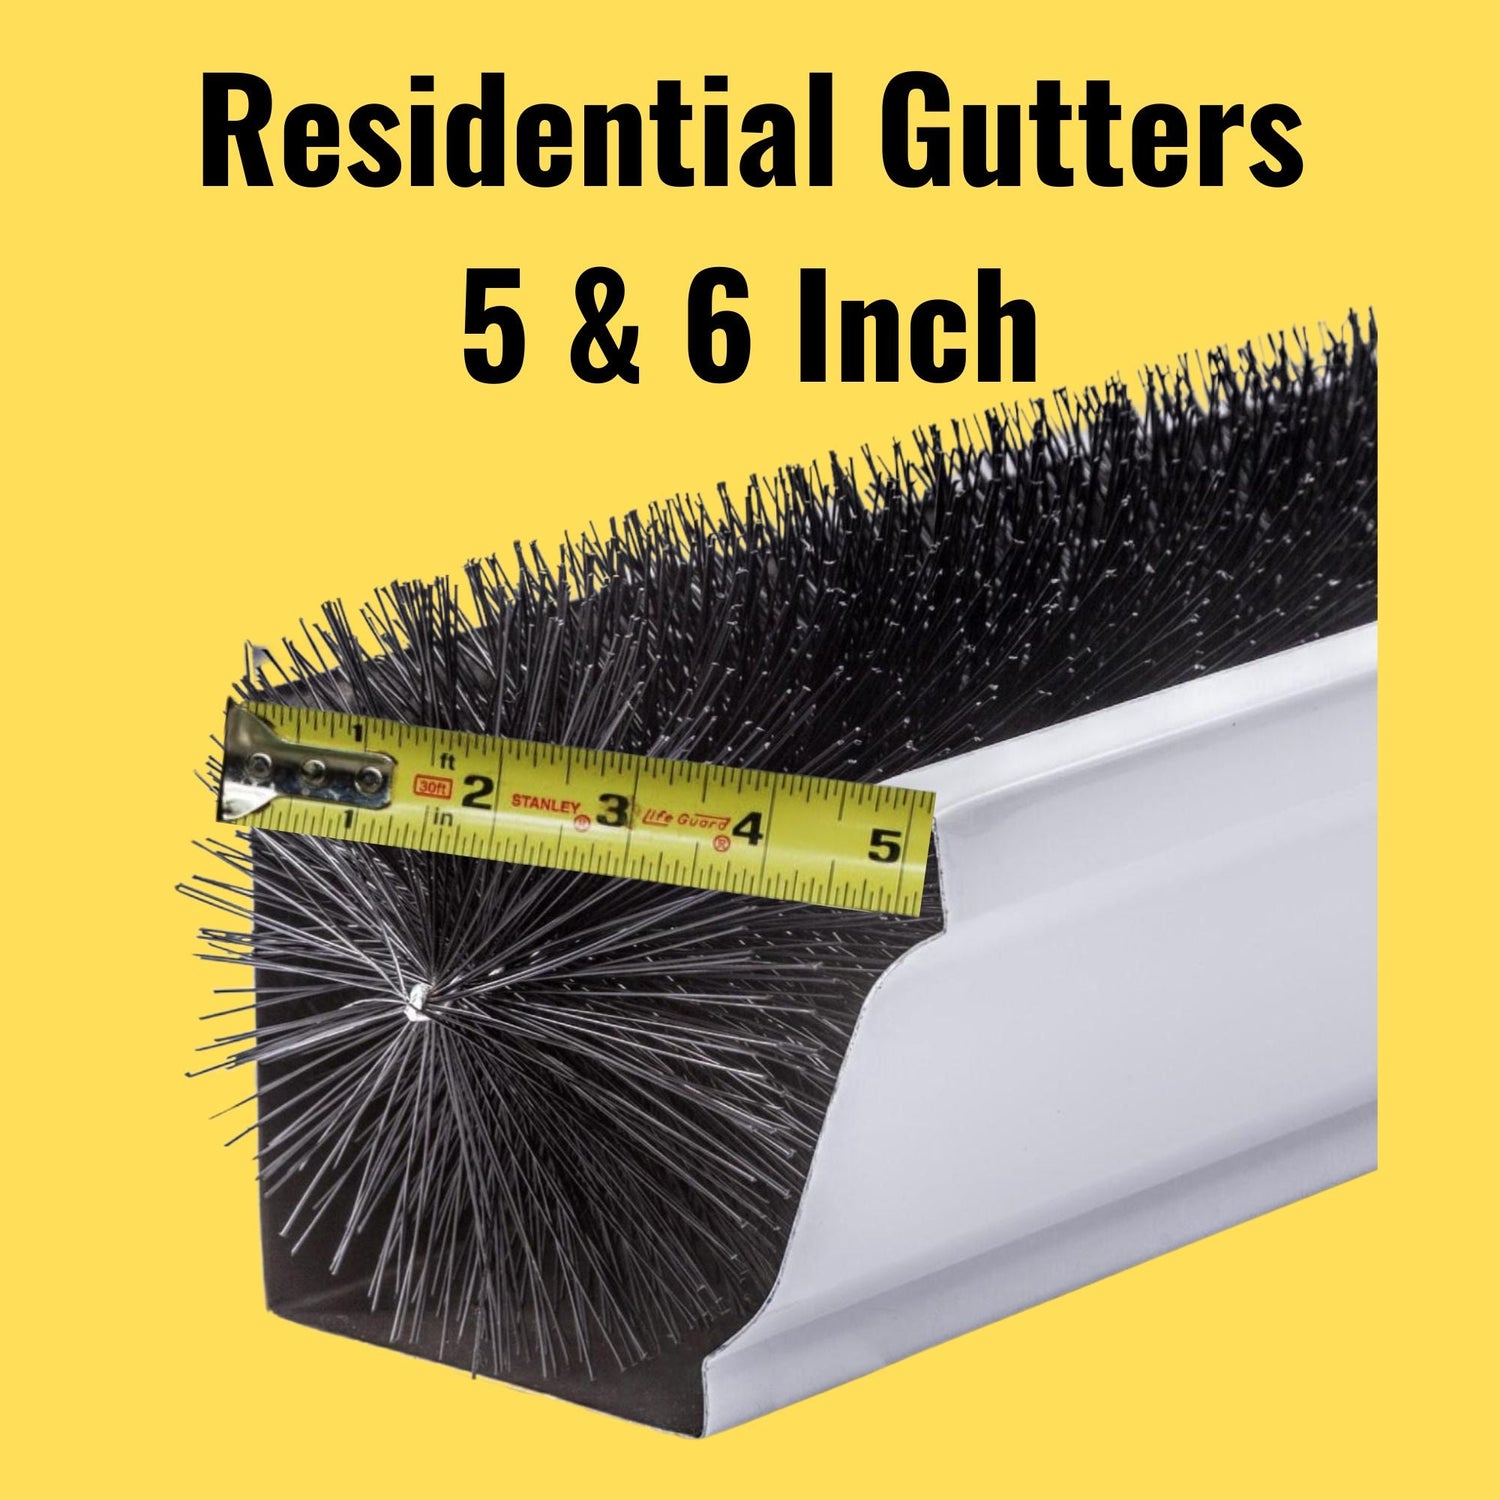
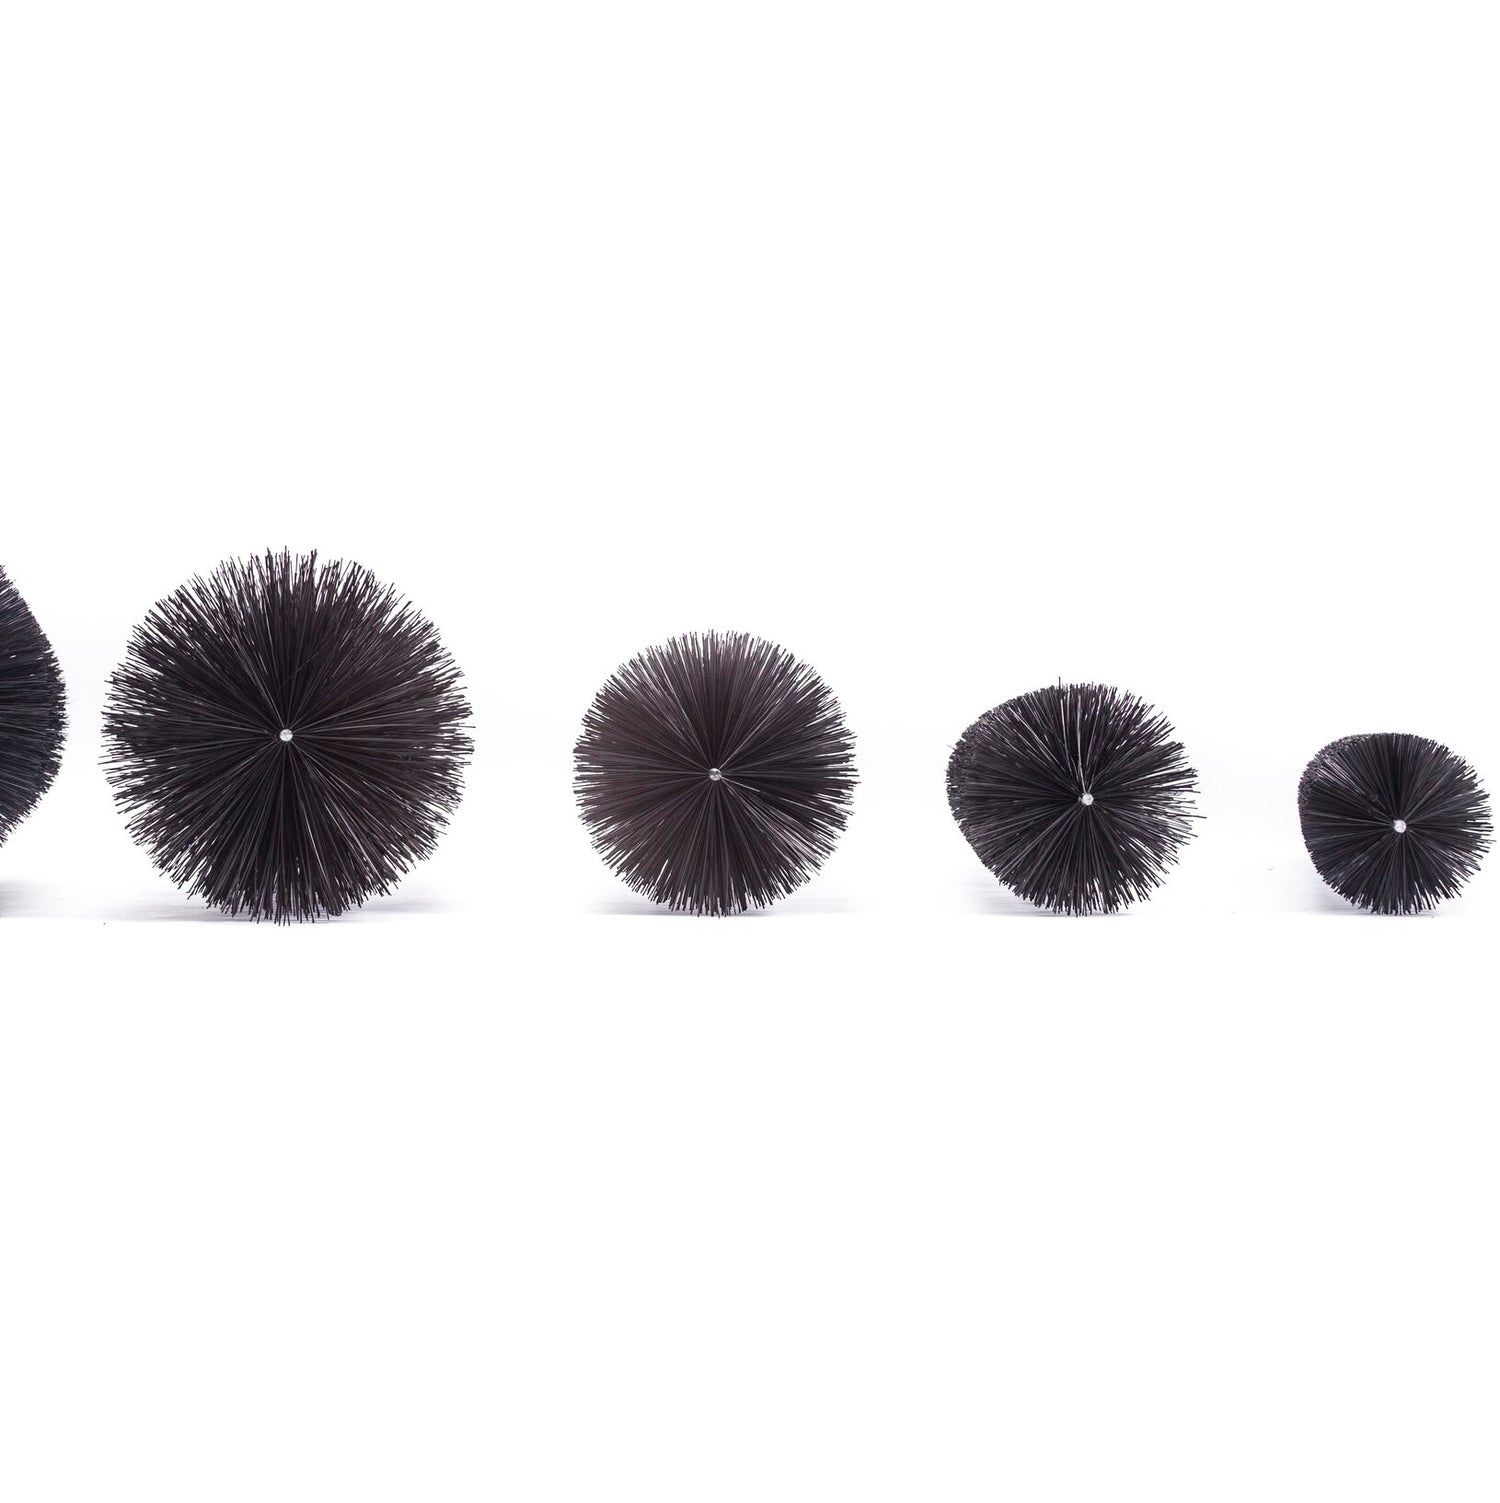
- Brush Gutter Guards: Consist of self fitting 3 foot bristle brushes that sit inside the gutter, catching debris while allowing water to flow through.
Consider your specific needs, budget, and the amount of debris your gutters typically accumulate when selecting a type.
Step 2: Gather Your Tools and Materials
Before starting the installation, gather all the necessary tools and materials:
- Gutter guards of your choice
- Ladder
- Work gloves
- Safety goggles
- Tape measure
- Tin snips or utility knife (for cutting gutter guards to size - not required for GutterBrush)
- Screwdriver or drill (if your gutter guards require screws - not required for GutterBrush)
- Screws (if not included with the gutter guards - not required for GutterBrush)
- Hose (for cleaning gutters before installation)
Step 3: Clean Your Gutters

To ensure effective installation, start by cleaning your gutters thoroughly:
- Set Up Your Ladder: Place your ladder on a stable surface and ensure it’s securely positioned. Use ladder stabilizers if necessary. ( See Ladder-max stabilizer)
- Remove Debris: Wearing work gloves and safety goggles, remove any leaves, twigs, and debris from the gutters by hand or with a small scoop.
- Flush with Water: Use a hose to flush out any remaining dirt and debris, ensuring that the gutters and downspouts are clear.
Step 4: Measure and Cut Gutter Guards
Accurate measurement and cutting are crucial for a proper fit:
- Measure Gutter Lengths: Measure the length of your gutters to determine how much material you need. Most gutter guards come in standard lengths, but you may need to cut them to fit your specific gutter dimensions.
- Cut to Size: Use tin snips or a utility knife to cut the gutter guards to the correct length. Ensure the cuts are clean and even to facilitate easy installation.
Step 5: Install the Gutter Guard
Steps for Mesh or Screen Gutter Guards
If you’ve chosen mesh or screen gutter guards, follow these steps for installation:
- Position the Guard: Place the mesh or screen guard over the gutter, ensuring it covers the entire width and extends slightly beyond the edges.
- Secure the Guard: Depending on the design, you may need to snap the guard into place or secure it with screws. Use the recommended number of screws per foot.
- Check Stability: Ensure the guard is securely in place and doesn’t move. Repeat the process for all gutter sections.
Steps for Reverse Curve Gutter Guards
Reverse curve gutter guards require a slightly different installation approach:
- Position the Guard: Place the reverse curve guard on top of the gutter, with the curved edge facing outward.
- Attach to Roof or Fascia: Depending on the design, attach the guard to the roof shingles or fascia board using screws or clips provided by the manufacturer.
- Ensure Proper Angle: Make sure the guard is angled correctly to allow water to flow into the gutter while debris slides off. Adjust as needed. If the gutter guard is not angled properly, the water may “release” and not enter the gutter.
Steps for Foam Gutter Guards
Foam gutter guards are among the easiest to install:
- Insert the Foam: Cut the foam guard to the length of the gutter section. Insert it directly into the gutter, ensuring it fits snugly.
- Compress and Secure: Compress the foam slightly to fit it under the gutter edges. It should expand to fill the gutter, allowing water to flow through while blocking debris.
- Check for Gaps: Ensure there are no gaps between the foam and the gutter edges. Adjust as necessary.
Steps for Brush Gutter Guards
Brush gutter guards like GutterBrush are straightforward to install:
- Insert the Brush: Simply Insert 3 foot lengths of Gutterbrush directly into the gutter, ensuring it fills the entire width.
- Position Correctly: The brush should fit snugly in the gutter, with the bristles extending slightly above the gutter edges. Gutterbrush is self fitting, so positioning is actually easy and automatic.
- No Fastening: GutterBrush simply slides under the gutter cross bars and becomes securely in place and doesn’t move. Just slide 3 foot lengths into the gutter, it is very easy, anyone can do it. Repeat the process for all gutter sections.
Step 6: Test Your Gutter Guards
After installation, it’s important to test your gutter guards to ensure they are functioning correctly:
- Inspect Visually: Walk around your home and visually inspect the gutter guards to ensure they are all securely in place and correctly installed.
- Run Water: Use a hose to run water through the gutters. Check for proper water flow and ensure there are no leaks or areas where water overflows.
- Check for Debris: Observe how the guards handle debris. Make sure that leaves and twigs are being kept out of the gutter’s water flow as intended.
Step 7: Maintain Your Gutter Guards

Even with gutter guards installed, regular maintenance is essential to ensure their effectiveness:
- Regular Inspections: Inspect your gutter guards at least twice a year, preferably in the spring and fall, to check for any damage or debris build-up.
- Clean as Needed: While gutter guards reduce the frequency of cleaning, they may still require occasional cleaning. Remove any debris that accumulates on top of the guards.
- Address Issues Promptly: If you notice any damage or issues with your gutter guards, address them promptly to prevent further problems.
Installing gutter guards is a valuable step in maintaining the health and longevity of your home’s gutter system. By following this step-by-step guide on how to put gutter guards on, you can effectively protect your gutters from debris, ensure proper water flow, and reduce the need for frequent maintenance. Whether you choose mesh, screen, reverse curve, foam, or brush gutter guards, proper installation and regular maintenance are key to maximizing their benefits. With the right tools, materials, and techniques, you can confidently install gutter guards and enjoy the peace of mind that comes with a well-protected home.
Key Takeaways
- Choose the Right Gutter Guard: Selecting the appropriate type of gutter guard (mesh, screen, reverse curve, foam, or brush) based on your specific needs and environmental conditions is crucial for effective performance.
- Proper Preparation: Thoroughly cleaning your gutters before installation ensures a smooth and effective installation process, preventing debris from interfering with the guards.
- Accurate Measurement and Cutting: Measuring and cutting the gutter guards to the correct size is essential for a secure fit and optimal functionality.
- Step-by-Step Installation: Follow detailed steps for installing different types of gutter guards, ensuring they are securely and correctly positioned for maximum effectiveness.
- Regular Maintenance: Even with gutter guards installed, periodic inspections and maintenance are necessary to ensure they continue to perform well and protect your gutters effectively.
About GutterBrush
At GutterBrush, we offer innovative gutter protection systems for both Residential and Commercial properties. Our unique brush technology, recognized by Home & Garden TV, The Family Handyman, At Home with Gary Sullivan, and Home Depot, ensures your gutters remain clog free while filtering rainwater, reducing the need to frequently buy gutter guards.
A family-owned company serving American homesteads since 2004, we're proud to have over 1200 5-star reviews, supported by a 10-year material warranty and a 365-day refund policy.